
[AFFILIATE DISCLOSURE] This guide may contain affiliate links. If you buy through them, StaysTidy may earn a commission at no extra cost to you. Read our Affiliate Disclosure.
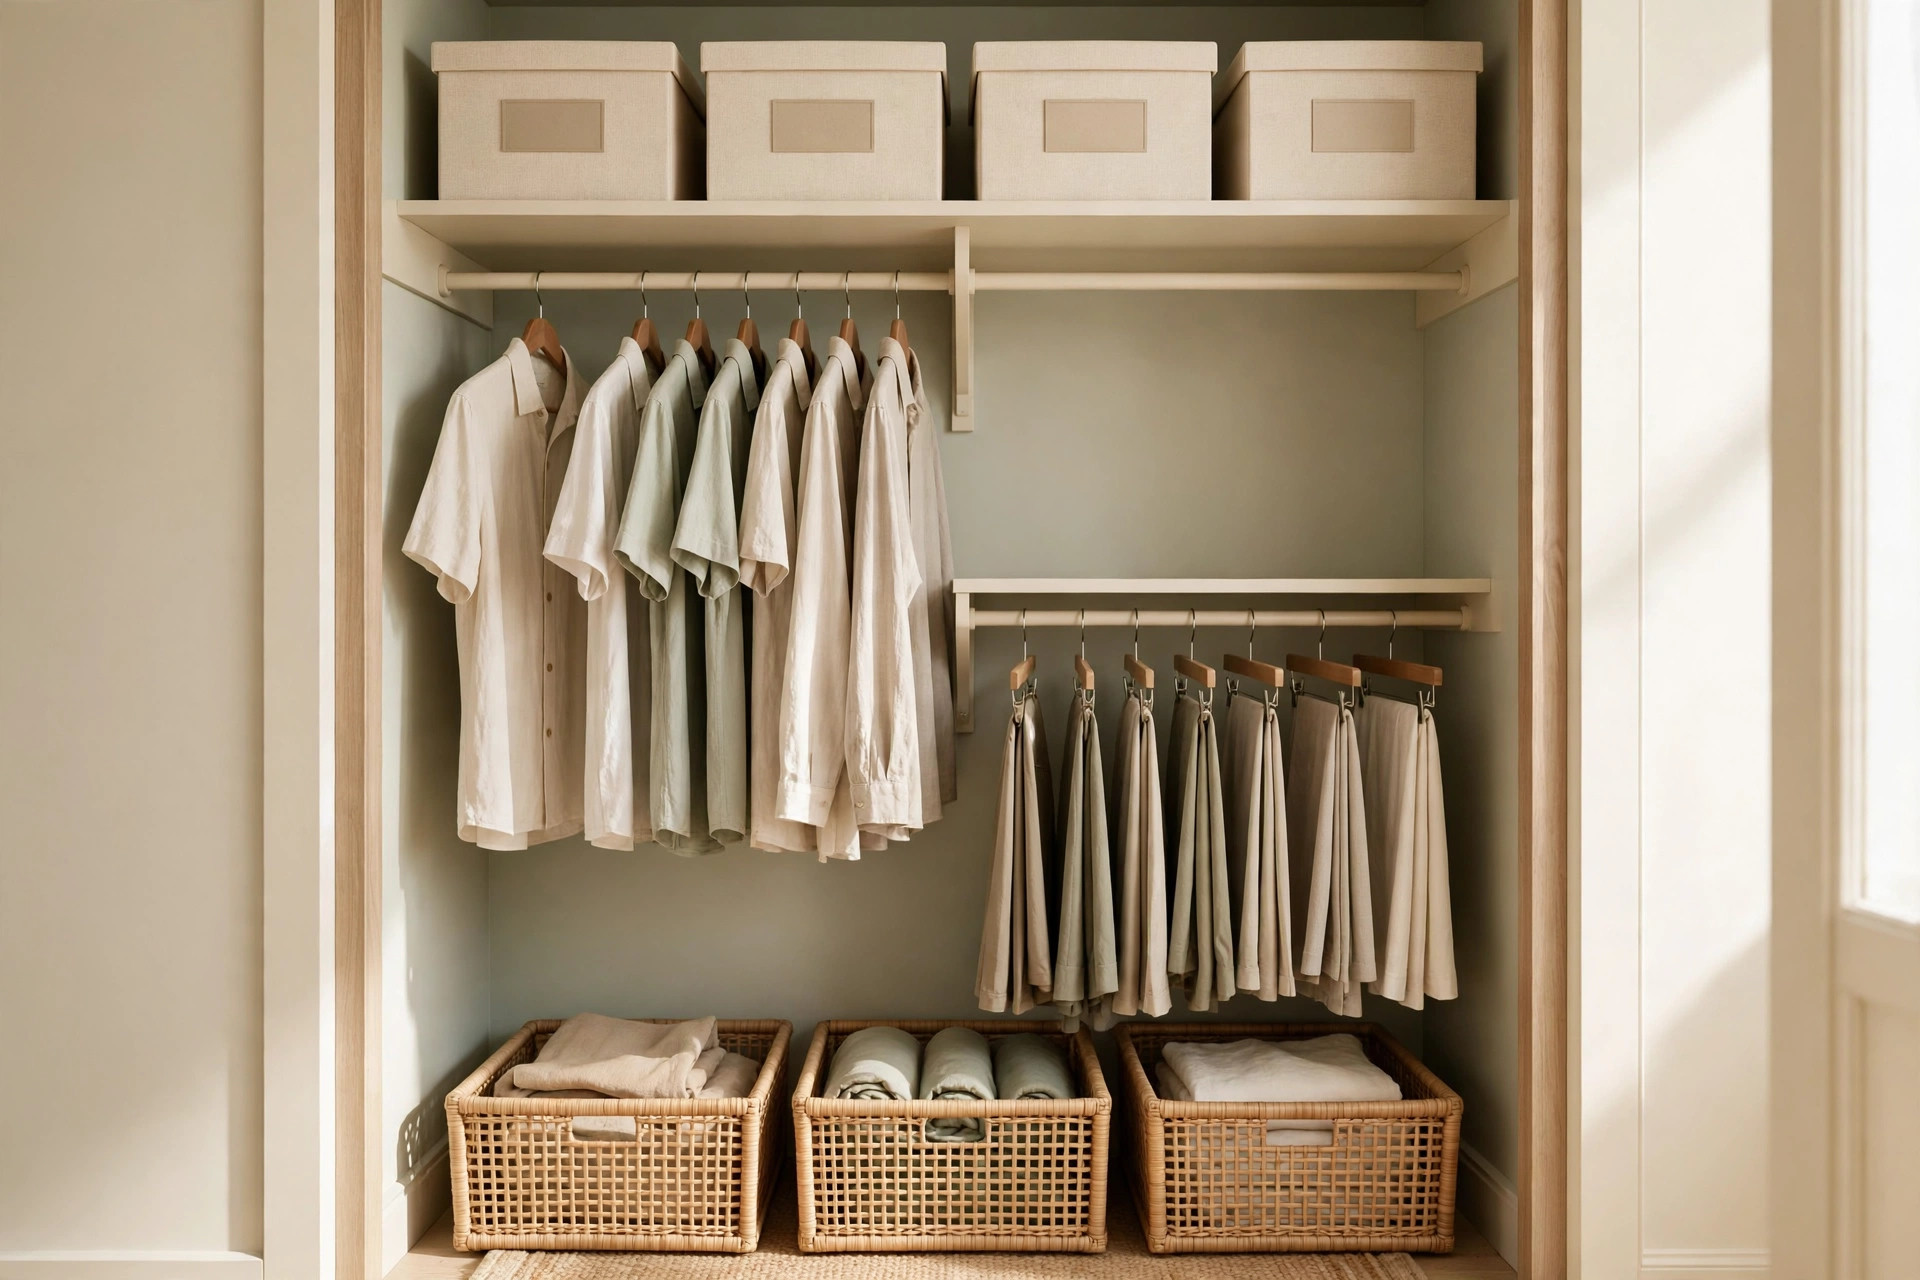
Most content about how to organize a closet on a budget sells a sequence: buy the system, then organize. That sequence is why so many “organized” closets are full of expensive containers holding clothes nobody wears. The budget sequence reverses it — measure, edit, then buy — because each step shrinks the next one’s bill. Measurement tells you what could fit; the edit tells you what actually needs to; and only then does a purchase have a job description precise enough to succeed. Most closets end up needing a third of the products they would have bought in the old order.
This guide works for owned and rented closets alike. Renters: the buying step sticks to freestanding and rail-hung options (the full no-drill toolkit lives in our no-drill closet guide).
Short answer: the cheapest effective way to organize a closet is slim hangers, shelf dividers, and over-the-door storage. Together they cost under $25 and handle most of a small closet’s chaos — no drilling, no expensive systems needed.
For the full category view, start with Closets & Wardrobes: Systems That Fit Real Closets.
Step 1: Measure (20 minutes, tape and notebook)
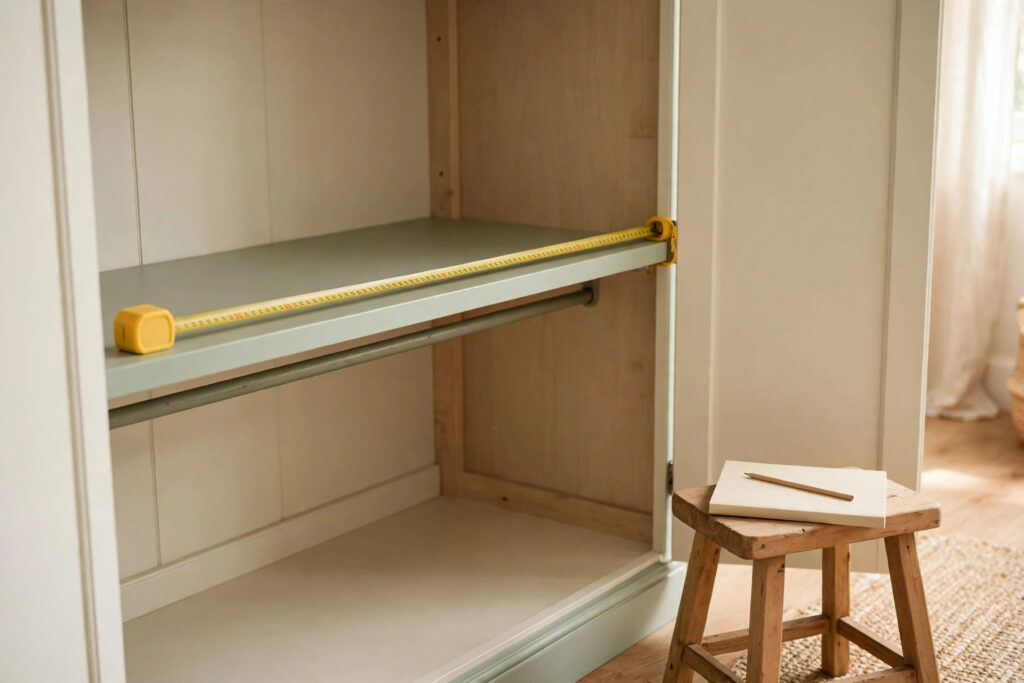
- Rail length(s) and height from floor to rail — decides double-hanging potential (shirts over shirts needs roughly two 40-inch / 100 cm drops; measure your actual drop, don’t assume).
- Shelf widths, depths and heights between shelves.
- Floor footprint inside the closet (stacking and shoe storage live here).
- Door type — hinged, bifold, sliding, none. Decides door storage (and rules it out for sliders).
- Your tallest hanging item and longest dress/coat length. One long item claims rail territory; everything else negotiates around it.
- Write it all down with a rough sketch. This page becomes your shopping list’s constitution: nothing gets bought that isn’t on it.
Step 2: Edit (the step that pays for everything else)

Pull categories out one at a time — all tops, then all trousers, then shoes — because you cannot judge a category you can’t see whole. Each item gets one verdict:
- Worn in the last 12 months and fits my life now → stays.
- Not worn, doesn’t fit, waiting for a different life → leaves: donate, sell, or return to its owner. “Waiting for a different life” is the largest clothing category in most closets and the most expensive to store.
- Damaged/stained beyond honest repair → recycling or bin.
- Sentimental → a small, deliberate keepsake box that lives somewhere cheaper than prime rail space. Sentiment is legitimate; storing it between work shirts is not.
How much usually goes: many people find a first pass removes a noticeable share of the rail. Every item edited out is storage you never have to buy. The edit is the budget system; containers just tidy what’s left.
Be careful with one trap: editing to an imagined minimalist wardrobe you’ll resent by Friday. The target is a closet where everything in it is worn, fits, and can be found — not a smaller number for its own sake.
Step 3: Plan zones on paper (10 minutes, free)
Assign the edited clothing to zones by frequency and format, tallest first:
- Long hang — dresses, coats: one end of the rail.
- Double hang (if your rail height allows) — shirts over trousers/skirts: the other end.
- Folded shelves — knitwear and jeans in stacks of 4–5 max, heaviest at the bottom.
- Floor zone — shoes on a rack or in open crates; the season’s bags.
- Top shelf — out-of-season and rare items in labelled boxes. Top shelf = slowest access, honest labelling (“Winter jumpers — Nov”) or it becomes the land of mystery boxes.
Only now do gaps appear: “folded zone needs dividers,” “shoes need one rack.” Those gaps are your entire shopping list.
Step 4: Buy against criteria (not against photos)
Buy in this priority order — it follows failure risk, not looks:
- Hangers, unified (only if your current ones are a mixed, snagging mess). Slim hangers genuinely return rail inches; measure your rail before/after if you want proof for your own closet. Buy one type, enough for the edited wardrobe — count first.
- One shoe solution sized to your edited shoe count and floor measurement.
- Shelf dividers or two stackable crates for the folded zone, sized to shelf depth minus a finger’s width.
- Labelled boxes for the top shelf only if mystery boxes already exist.

Criteria for every purchase: fits the measured space with room to grip; solves a named gap from Step 3; works with your door type and rental status; you’d buy it again at the same price after a month. If a product fails the first criterion, its beauty is irrelevant.
What to skip buying entirely: matching container sets bought before the edit; “closet systems” priced for the un-edited wardrobe; specialty hangers for clothing you edited out; anything whose job isn’t written on your Step 3 sketch.
Worked example (illustrative, not a promise)
A typical single-rail closet after measuring: 48 inches (120 cm) of rail, one high shelf, floor below. Edit removes a third. Resulting plan: long hang keeps 12 inches, double hang (with a tension second rail — renters, see the no-drill guide) takes 30 inches of shirts/trousers, folded knitwear moves to two crates on the floor under the short hang, shoes to a slim rack beside them, top shelf gets two labelled seasonal boxes. Total purchase list: one tension rail, two crates, one slim rack, two boxes, hangers only if needed. Everything else was already in the house. Your numbers will differ — that’s the point of measuring.
Keep it tidy
- One-in-one-out for rail items once you’re at capacity — the closet’s version of the capacity rules used across the site.
- Seasonal swap twice a year: out-of-season to the top-shelf boxes, this season down to prime space (the same swap discipline as the entryway drop zone).
- Monthly 10-minute check folded into the nightly reset rhythm: rails re-spaced, folded stacks straightened, floor vacuumed before it becomes archaeology.
- And when it falls apart anyway — it will, some February — diagnose before re-buying.
FAQ
I can’t afford any products this month. What do I do?
Steps 1–3 cost nothing and usually deliver most of the improvement: measured space, a real edit, zones on paper. Live with crates and boxes you already own for a month; your Step 4 list will be shorter and smarter for the wait.
Renting — can I still double-hang?
Yes, with a tension second rail or a rail-hung hanging rail extender — both leave with you. Check spans and sag honestly (narrow spans hold best) per the no-drill closet guide.
How many hangers should a wardrobe have?
As many as your edited rail items, plus a couple of spares. Count after the edit, not before — hanger purchases are where the old sequence sneaks back in.
My partner’s side is the chaos. Do I reorganize it?
Zones work when the zone-user designs them. Offer the measure-edit-plan steps for their side, let them set their own zones, and agree only on shared things (shoe capacity, top-shelf boxes). Systems imposed on other adults almost always unravel.
Get the printable
One page: the closet measurement boxes above, the edit verdict checklist, and the zone planner sketch grid.
That sheet is on its way to the Printable Library — until then, start with the free Small Closet Measurement Worksheet.


2 thoughts on “Closet Organization on a Budget: Measure, Edit, Then Buy (In That Order)”