
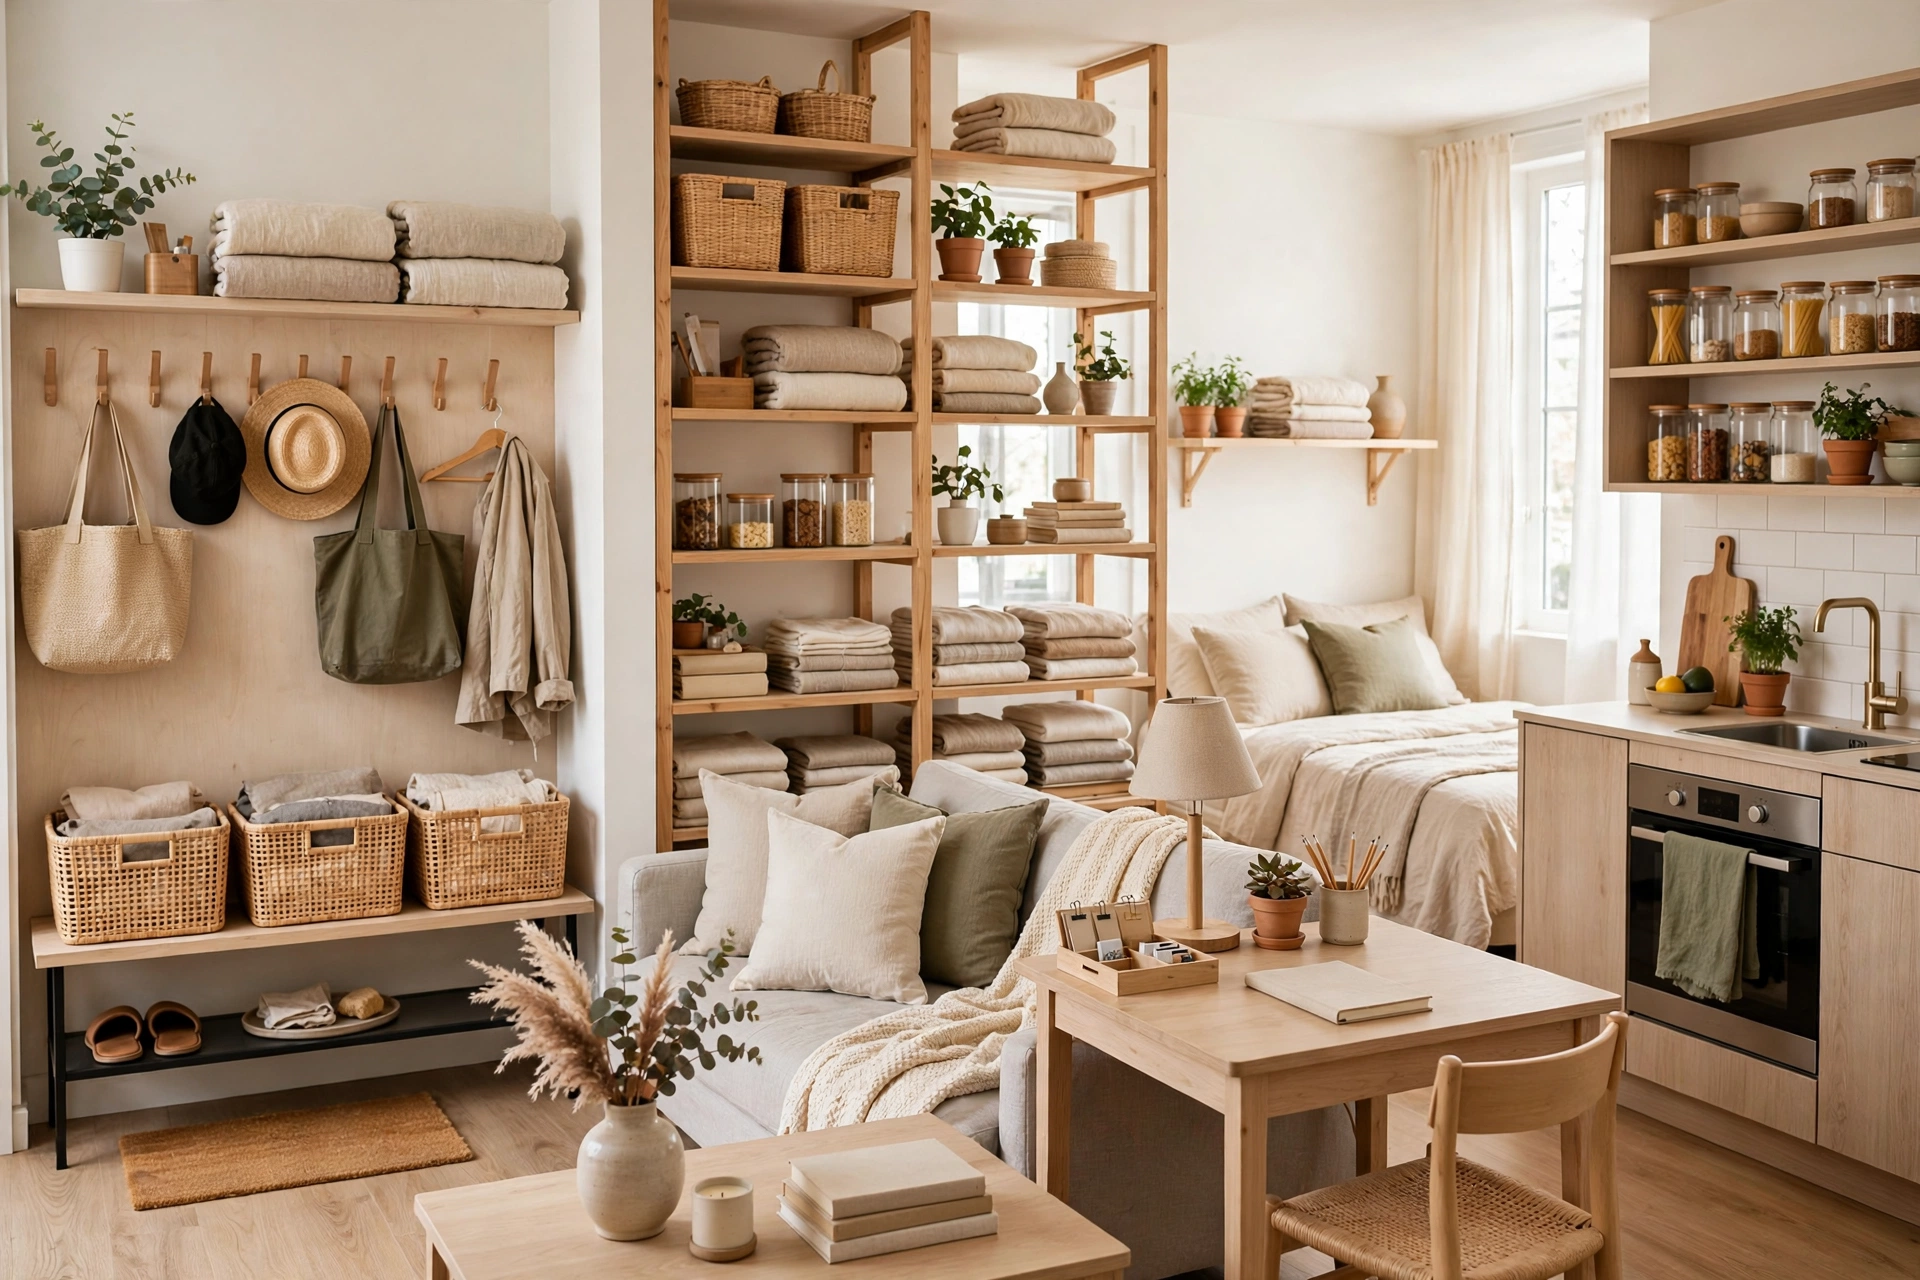
Short answer: Organizing a small space works when you follow a sequence: declutter first (less stuff beats more storage), give every room zones with one job each, use vertical and hidden storage instead of new furniture, and run a 20-minute weekly reset. In rented homes, do it all without drilling — tension rods, adhesive hooks, and freestanding pieces. The system below covers every room and the routine that keeps it working.
Small spaces don’t need more organizing products. They need fewer things competing for the same square metres, and a place for everything that remains. Most small-space advice stops at “buy bins” — this guide builds the full system: the declutter pass that comes first, the zoning method that works in every room, renter-safe storage for each space, and the maintenance routine that stops it sliding back.
Step 1: Declutter before you organize (the non-negotiable)
Organizing clutter just gives mess a nicer container. In a small home, every item you keep costs floor space you don’t have — so the declutter pass isn’t optional, it’s the highest-leverage hour you’ll spend.
Work one category at a time, not one room: clothes, then books and media, then kitchen extras, then papers, then the miscellaneous drawer-of-everything. For each item, ask two questions: have I used this in the last year? and does it earn the space it takes? In a 40m² flat, a bread maker used twice a year is renting space at luxury rates — let it go.
Be especially ruthless with duplicates. Small kitchens collect three spatulas, two colanders, four water bottles. Keep the best one of each and donate the rest. Duplicates are the quietest space thieves in small homes.
If decluttering stalls, read our declutter routine guide — the same room-by-room logic, built for maintenance once this first pass is done.
Step 2: Zone every room (one job per zone)
A zone is a small area with one job. The kitchen counter isn’t “the counter” — it’s a coffee zone, a prep zone, and a landing zone for keys and post. When every zone has one job, everything in a small space has an address, and tidying becomes returning things rather than deciding where they go.
Walk each room and name its zones out loud. A studio’s living area might be: sleep zone (bed), work zone (desk corner), relax zone (chair + side table), and entry zone (hooks + tray by the door). Four zones, four jobs, no overlap. The living room storage guide shows how to give each zone hidden storage without new furniture.
The rule that makes zoning stick: nothing lives in two zones. The scissors live in the desk zone or the kitchen zone — pick one. Shared items are how small spaces re-clutter.

Step 3: Go vertical and hidden (not wider)
Small rooms have more wall and door space than floor space. Use it:
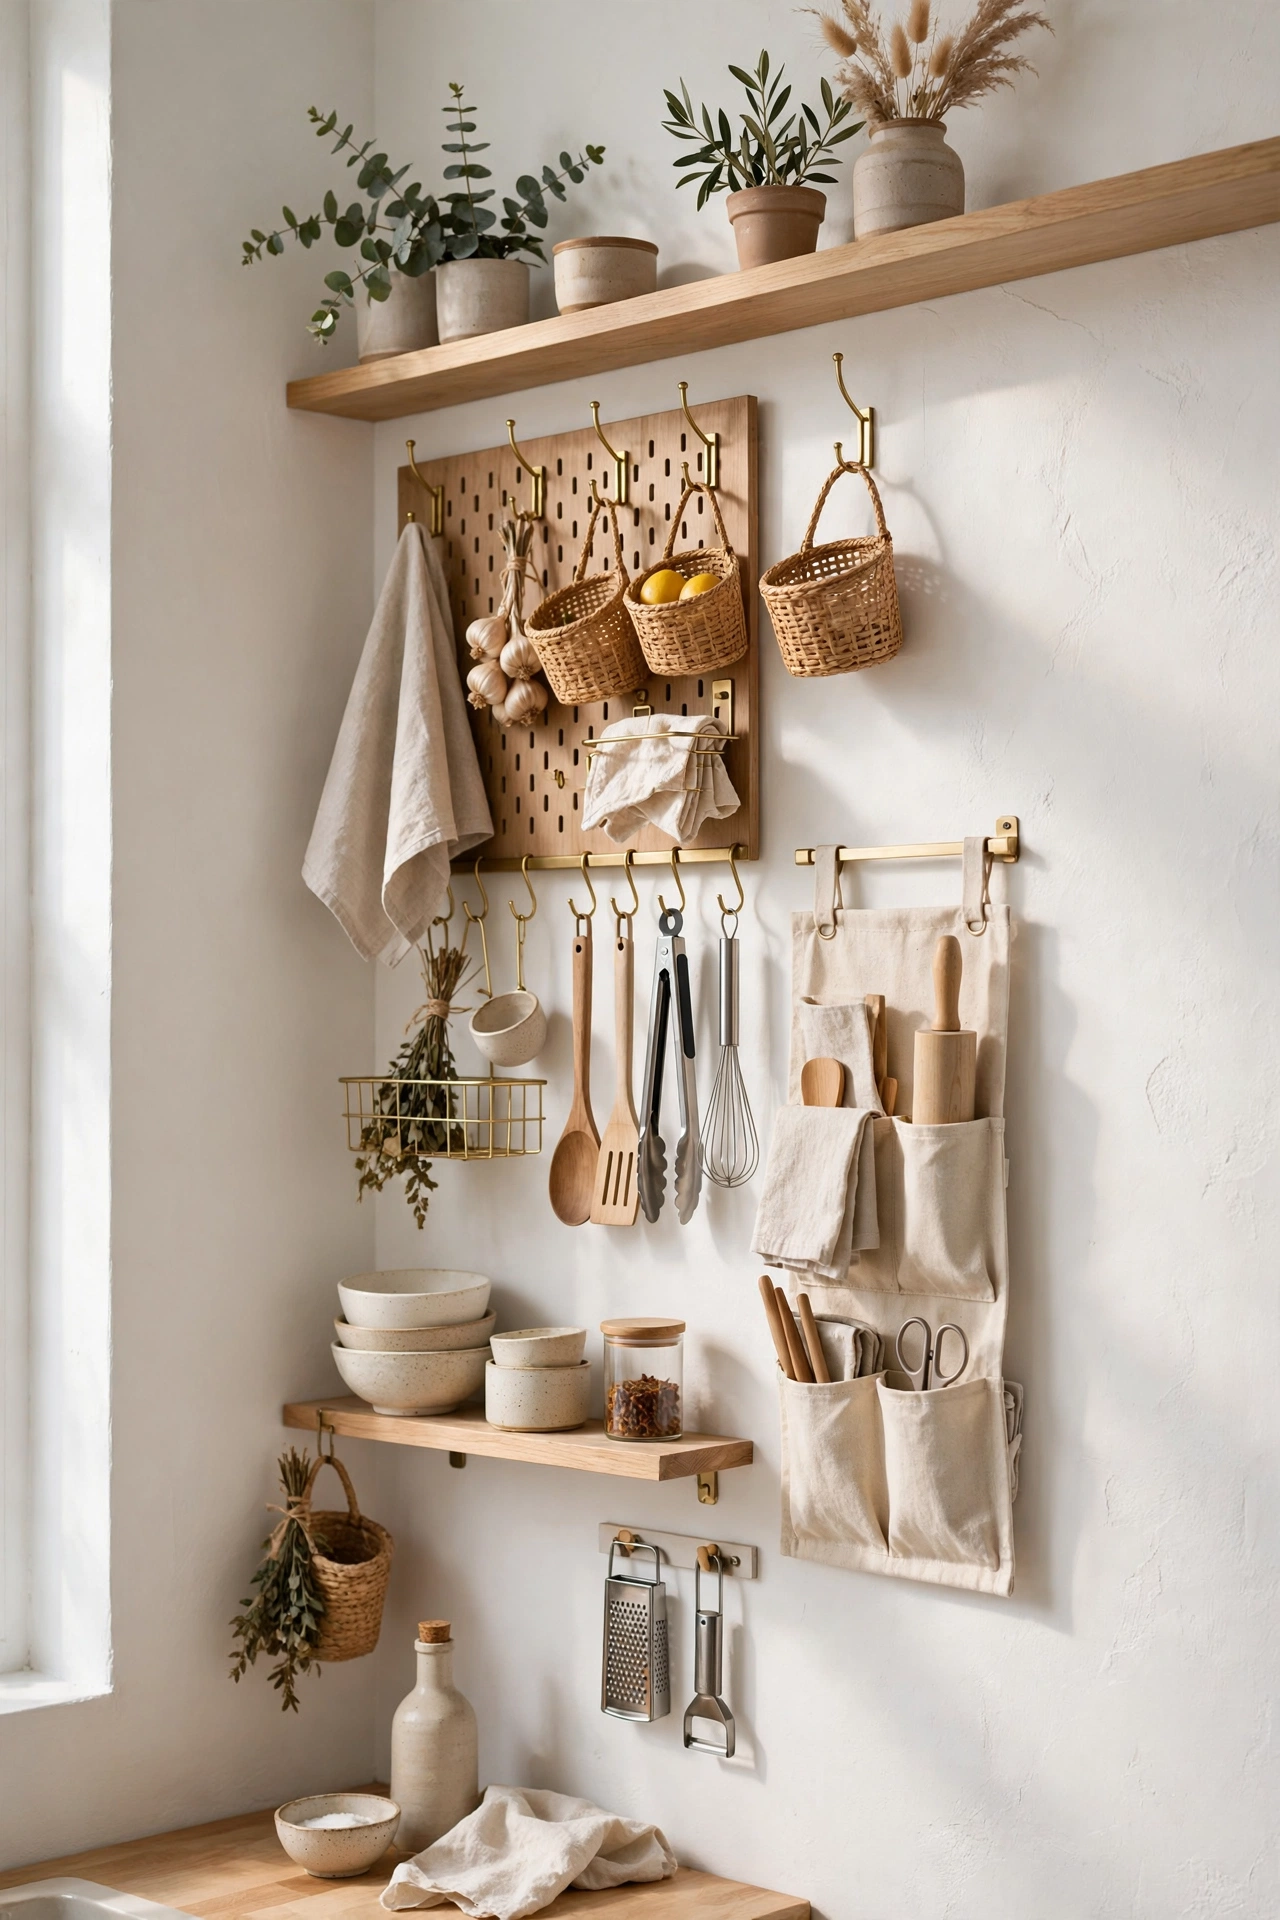
- Walls (no drilling): adhesive hooks for bags, hats, and utensils; tension rods inside cabinets for dividers; floating shelves only if your lease allows — otherwise leaning shelf ladders.
- Doors: over-the-door organizers on bedroom, bathroom, and pantry doors turn dead space into deep storage.
- Under: under-bed boxes, under-sofa flat storage, under-sink tiered shelves.
- Inside: cabinet-door racks, drawer dividers, shelf risers that double stacking space.
The principle: storage should disappear into the room’s existing surfaces. If a storage purchase needs floor space, it has to justify evicting something else.
Step 4: Room-by-room — the small-space playbook
The small kitchen
Kitchens fail on duplicates and single-use gadgets first. After the declutter pass, zone it: cooking zone (stove + daily tools), prep zone (counter + chopping), and storage zone (cabinets + pantry). Move daily tools to the cooking zone even if it breaks the “everything in cabinets” aesthetic — reach beats looks in a kitchen you actually cook in.
For rented kitchens where drilling is banned, the no-drill rental kitchen guide covers tension rods, adhesive rails, and rolling carts. And the small pantry restock system keeps a tiny pantry calm between shops.
The small closet
Measure first: rail length, shelf depth, floor footprint. Then hang by outfit-group (work, home, out) rather than colour, keep one box for off-season on the top shelf, and enforce the rail test — if hangers can’t slide, the wardrobe is too big for the closet. The full method is in capsule wardrobe for small closets; the budget version (under $25) is in closet organization on a budget.
The living area
Living rooms in small homes do triple duty. Give each function its zone and its hidden storage: the ottoman holds throws and remotes, one basket per person holds the daily drift, and the one-tray rule contains the keys-post-sunglasses pile. Details in living room storage that disappears.
The bathroom
Decant ruthlessly — one shampoo, not four half-bottles. Over-door hooks for towels, a tiered shelf for daily products, and a small “guest ready” caddy under the sink. Small bathrooms stay tidy through subtraction more than storage.
The entryway
The entryway sets the tone for the whole home. Three items: hooks for coats and bags, a tray for keys and wallets, and a shoe limit (one pair per person by the door, the rest in the closet). Five minutes here prevents the “drop zone spreads everywhere” effect.
Step 5: The 20-minute weekly reset (what makes it stick)
Systems fail without maintenance. The weekly reset is 20 minutes, same day each week:
- Floors clear (5 min): everything off the floor back to its zone.
- Surfaces sweep (5 min): counters, tables, desk — return drift to zones.
- One zone deep-tidy (7 min): rotate through zones weekly; each gets attention monthly.
- Donation bag check (3 min): anything spotted during the reset that should leave goes straight in the bag by the door.
Put it on the calendar like an appointment. Homes that get a weekly reset don’t need seasonal overhauls.
Renter-specific rules (no drilling, no deposit lost)
- Tension over screws: rods inside cabinets, shower caddies, curtain dividers.
- Adhesive over nails: hooks, rails, and caddies rated for the weight — check the rating, cheap ones fail.
- Freestanding over mounted: leaning shelves, rolling carts, over-door organizers.
- Photograph everything before you move in and after any change — your deposit defence.
- Ask before the grey areas: some landlords allow small nail holes; get it in writing.
Mistakes that re-clutter small spaces
Buying storage before decluttering. Containers for clutter you should have donated.
One big “organization day” with no routine. Feels productive, lasts two weeks. The weekly reset beats the annual overhaul.
Aesthetic over function. The pretty basket that doesn’t fit the shelf, the matching jars that hold less than the originals. Measure first, pretty second.
No landing zone. Without a designated drop spot by the door, the whole home becomes the landing zone.
FAQ
What’s the first step to organizing a small space?
Declutter one category at a time before buying any storage. Less stuff beats more containers — especially where floor space is scarce.
How do you organize a small home with no storage?
Use the surfaces you already have: walls (adhesive hooks), doors (over-door organizers), under-bed and under-sofa space, and inside cabinets (risers, dividers). Avoid anything that needs new floor space.
How do renters organize without drilling?
Tension rods, adhesive hooks and rails, over-door organizers, leaning shelves, and rolling carts. Everything comes off cleanly when you move out.
How do you keep a small space organized long-term?
A 20-minute weekly reset: floors clear, surfaces swept, one zone deep-tidied, donation bag checked. Maintenance beats overhauls.


4 thoughts on “How to Organize Small Spaces: A Room-by-Room System for Small & Rented Homes”